We are a pilot, a teacher, a fat cat and 3 kids who sold our 4 bedroom house, got rid of most of our belongings and moved aboard a Nordhavn 50 (Hull #20). Then the kids moved off and now we're on a Nordhavn 57 (Hull #28). Subscribe with your email to follow our journey as we cruise the peaks and troughs of this exciting adventure from Seattle to Mexico through Rhode Island and on to who knows where?! On Instagram, Facebook and Youtube: mvnoeta
Many boats don't even cruise with a regular paper printer, and I went and got a 3-D printer!! Why? Well, besides the fact that it gave me a fun challenge, with a huge learning curve, I wanted to be able to print boat parts that would be otherwise difficult, or at times, impossible to get in whatever remote locations that we are. In addition, out last kiddo moved off the boat, so we had some extra space for the first time.
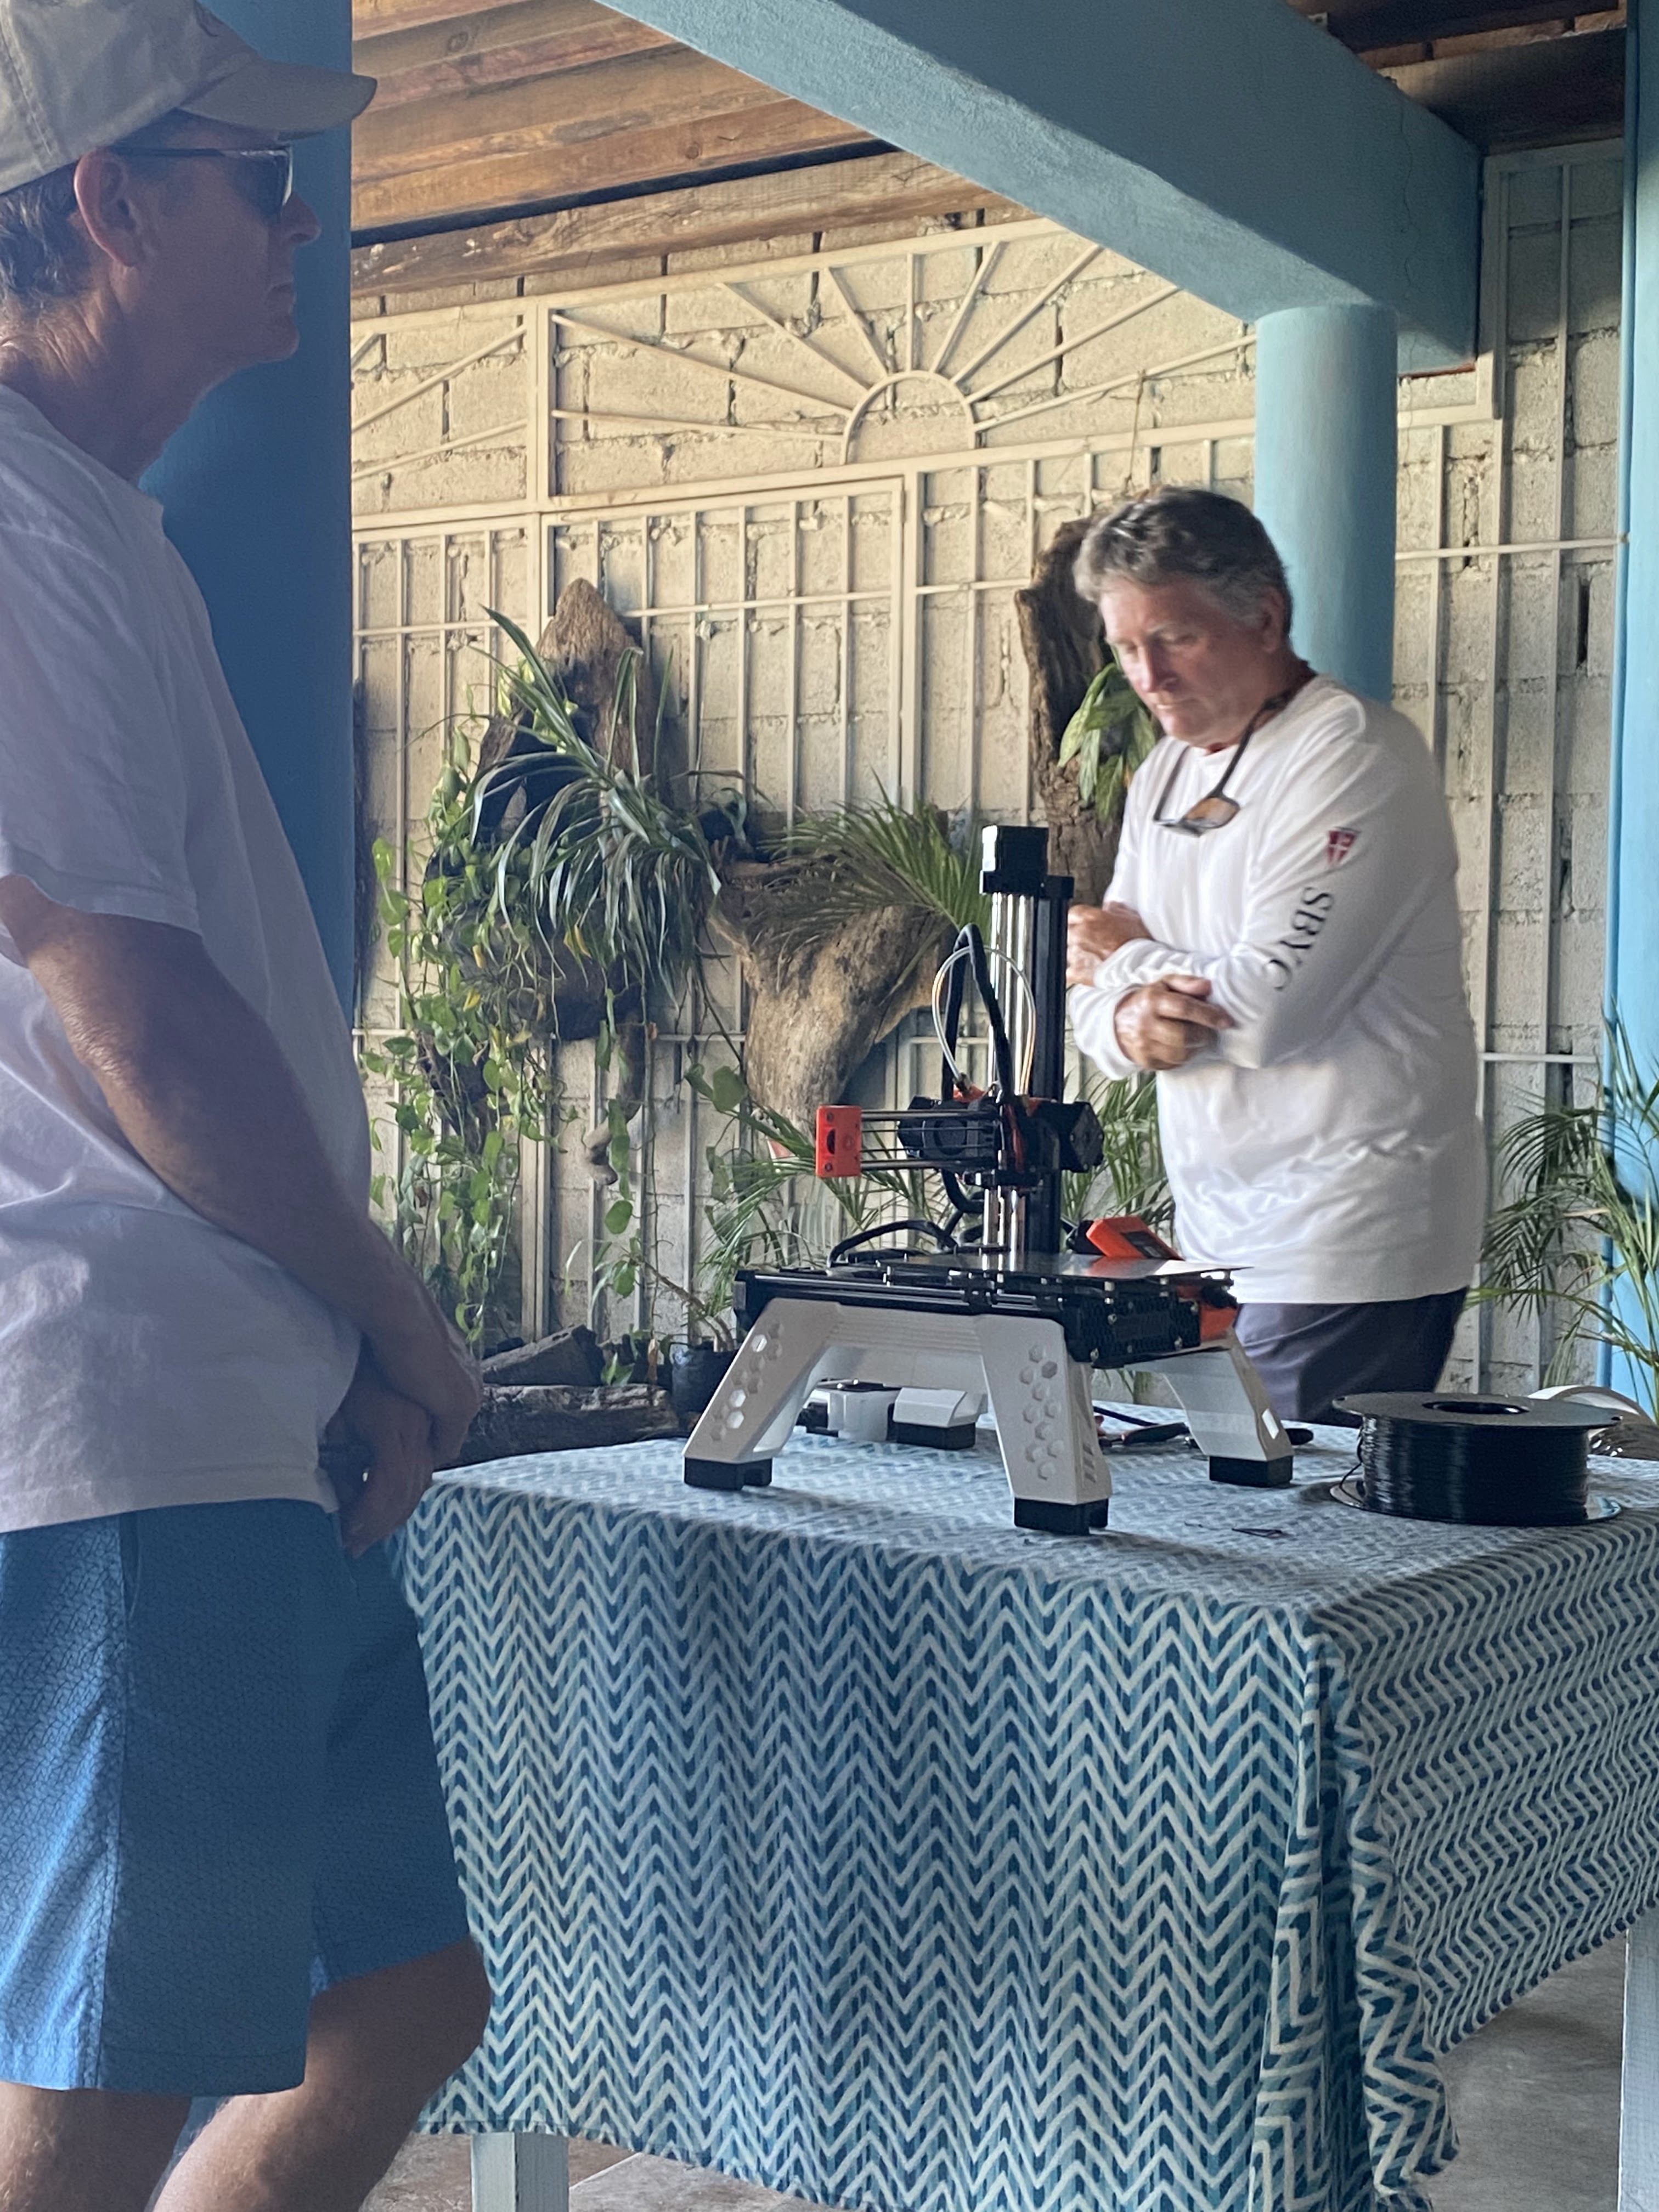
About 9 months ago I went to a cruiser workshop in La Cruz, Mexico where an engineer cruiser shared that he had a 3-D printer on board. He explained how it worked, the benefits of having one and that it wasn't for everyone, as there were a lot of steps to learn.
Cedar, sharing how he uses his 3-D printer on board.
Watching his 3-D Prusa printer at work. I was hooked!
I was familiar with 3-D printing, as we had one in my computer lab when I taught technology classes. The printer was always running while I was teaching, but I didn't give it much thought, as students were usually printing pencil toppers and small action figures. However when I learned that it could be a useful tool on the boat, I decided to give it a try!
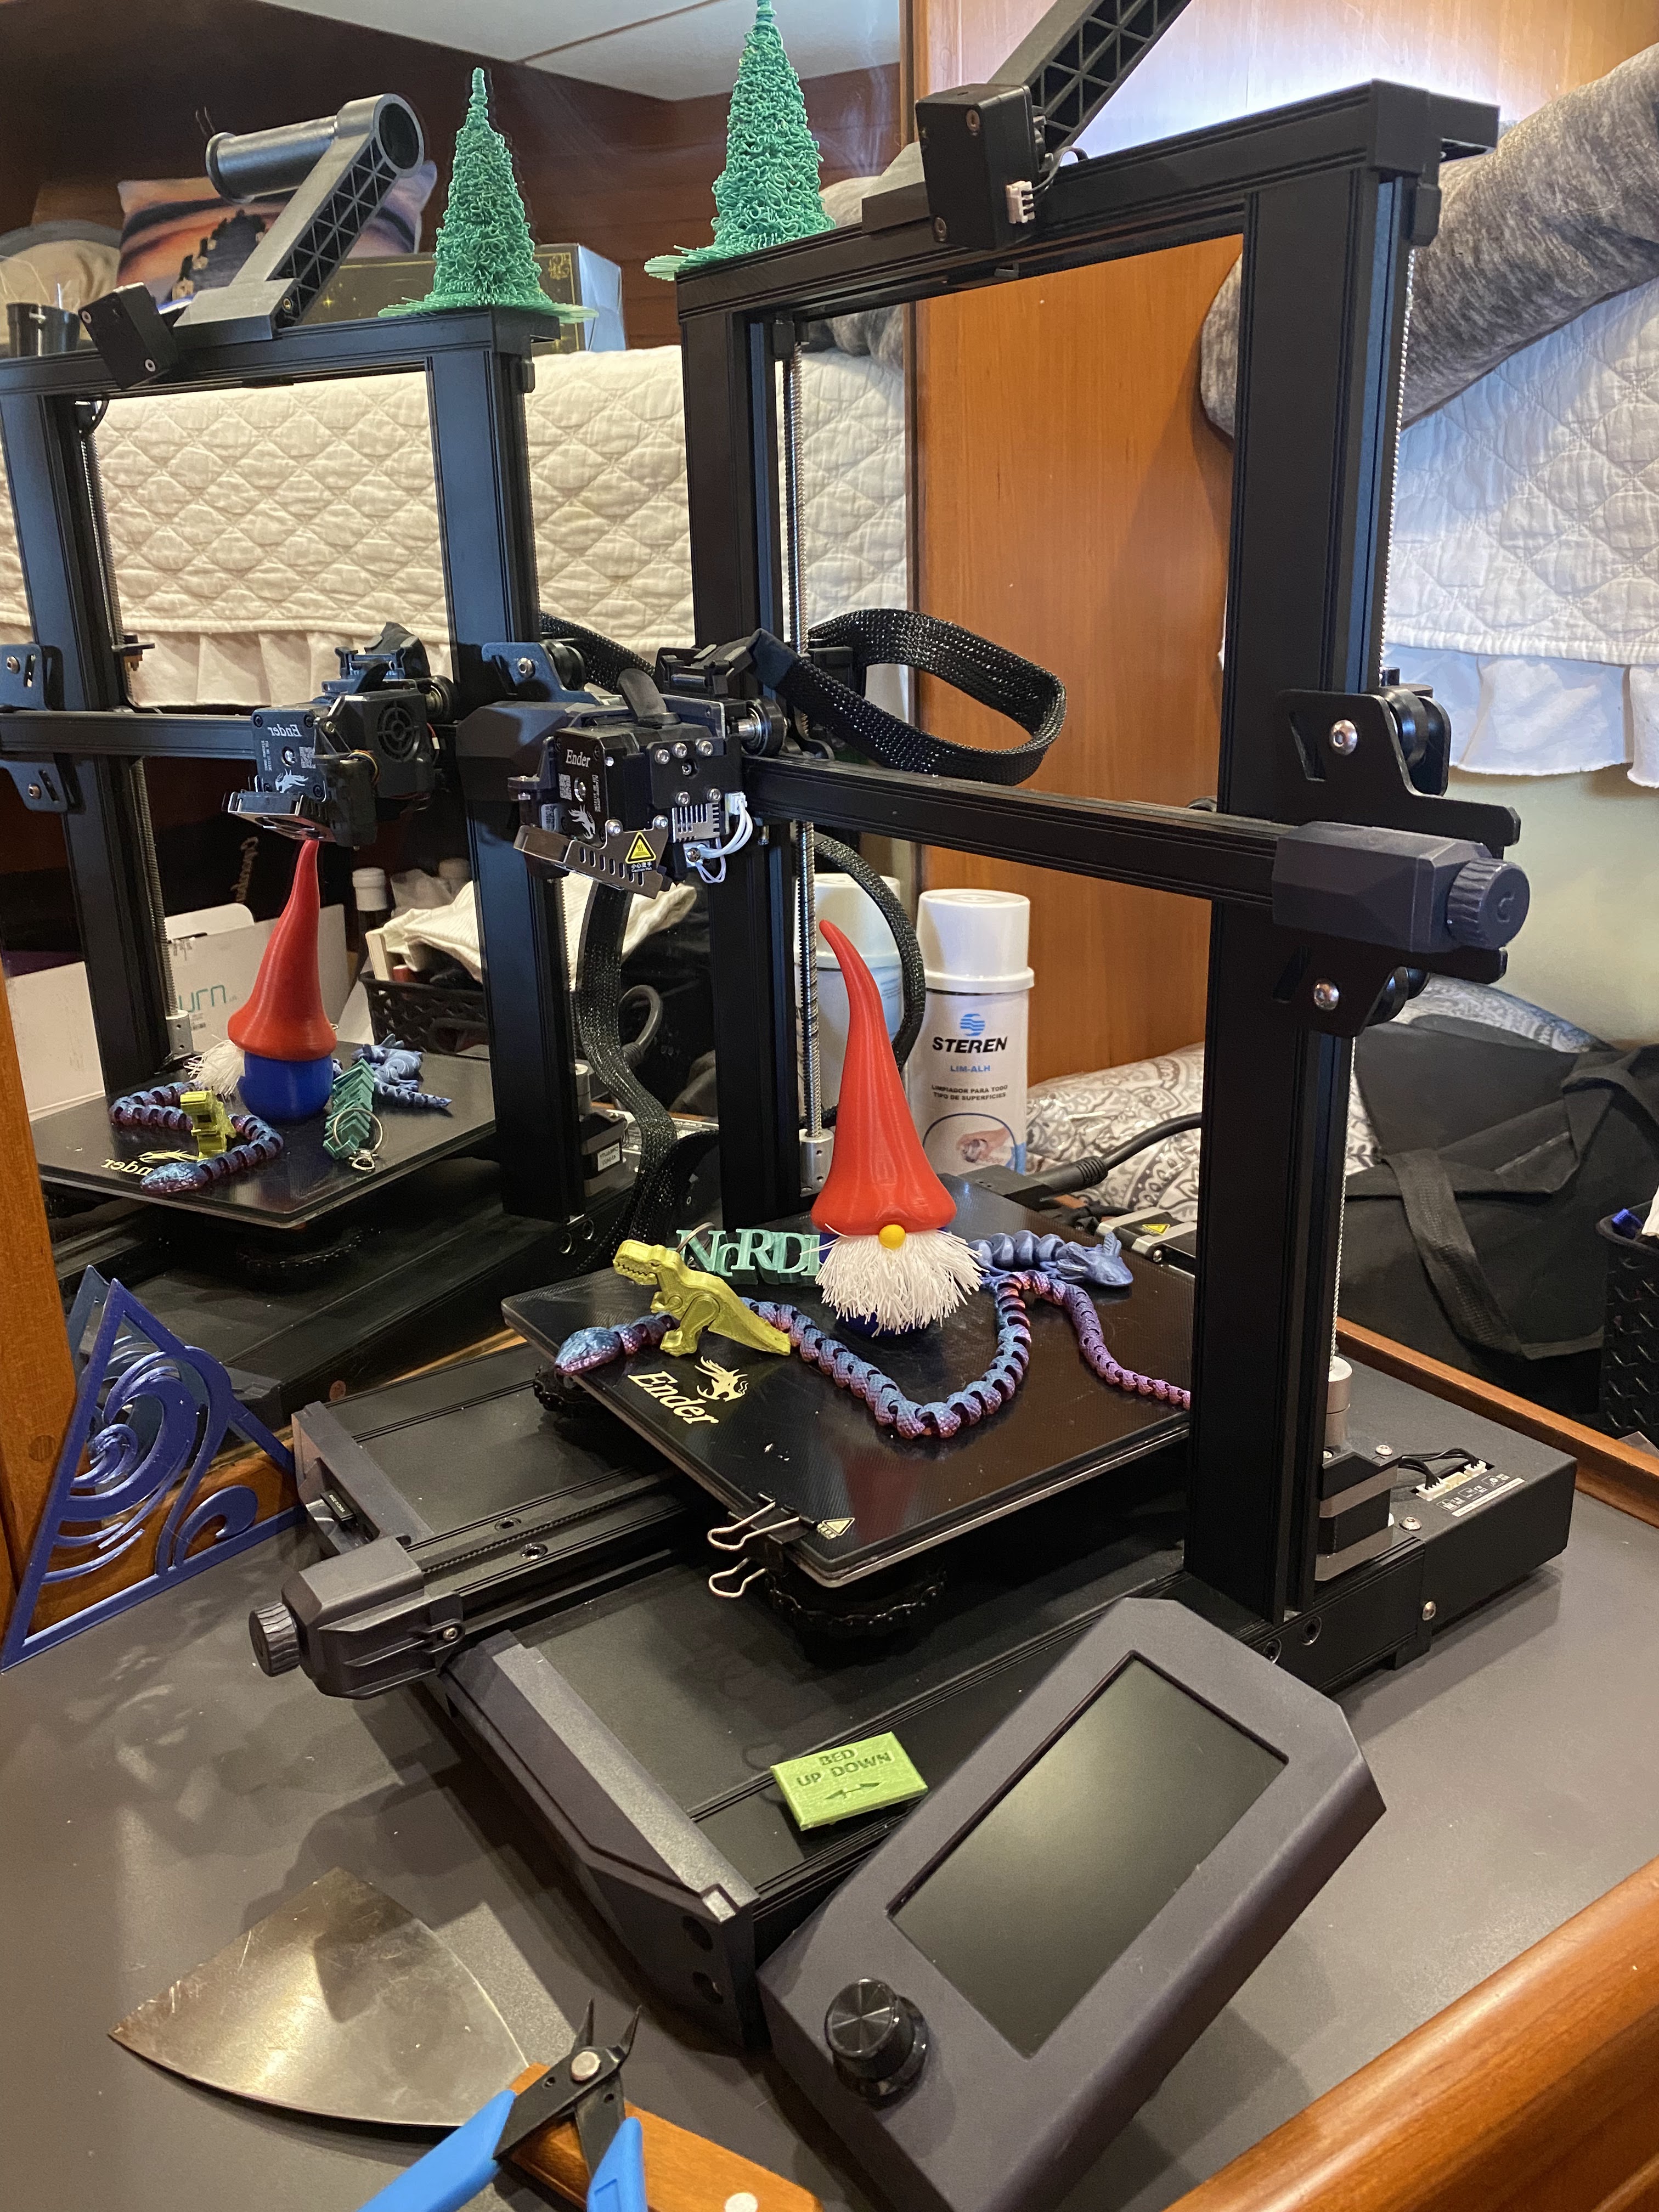
My printer set up in my son's old room. There is the printer, with a spool of filament (plastic) on the top. Many of my printed items are on the wall and counter top.
What is a 3-D printer?
3D printers use Computer-aided design (CAD) software to create 3D objects from a variety of materials, like molten plastic or powders. 3D printers can come in a variety of shapes and sizes ranging from equipment that can fit on my boat to large construction models used in the making of 3D-printed houses. Mine is a Creality Ender 3 S1. It takes up about a 2 ft x 2 ft space on a dresser in our son's old room. It prints 220 mm x 220 mm x 270 mm and uses 100-120V, 220-240V, or 50/60 Hz.
Basically, it heats up a nozzle and the print plate as it feeds a spool of plastic filament through it. The plastic heats up and melts as the extruder lays it down on the plate layer by layer, based on the the CAD software's specifications. There are many different types of plastic. The most common, PLA, is actually a biodegradable material, made of cornstarch. However you can also print with wood-filled, electrically conductive and flexible plastics. On the boat, I have basic PLA filament, but also flexible (TPU) and the important ABS which is much stiffer and heat and UV resistant - good for plastics that need to be outdoors or in heated areas.
Prints can take anywhere from minutes to hours to print, fortunately the printer doesn't use much power. The average 3D printer with a nozzle at 205°C and heated bed at 60°C draws an average power of 70 watts. For a 10-hour print, this would use 0.7kWh. The electric power a 3-D printer uses depends mainly on the size of the printer and the temperature of the heated bed and nozzle.
Trying to figure out how to get my new printer from Washington to Mexico last April. It took up the whole suitcase!
What have I printed?
Honestly, during my learning period, I've probably made more things 'for fun', than for the boat. But as others around me have discovered what the printer does, I've had lots of requests for parts. Some items I have found in online sharing libraries of files and others I have created. These photos are pretty much in the order that I printed them, so they get better as they go along.
My very first print! The printer came with an SD card with a few 'first prints' to try. Notice, on the left, under the paws are support structures. When items have overhangs, like his paws, they need supports in order to print.
This is Benchy - a common first print for most first time users.
Hose nozzle
Carabiner clip
First thing I actually designed (simple I know). Pat needed spacers as he was assembling something.
One of my favorites - a hexagonal storage thing for cables
A bowl
A squishy ring
Paperclips and a bag clip
A wedge I designed for a screen in the pilot house, so it is angled up and we can see it.
.
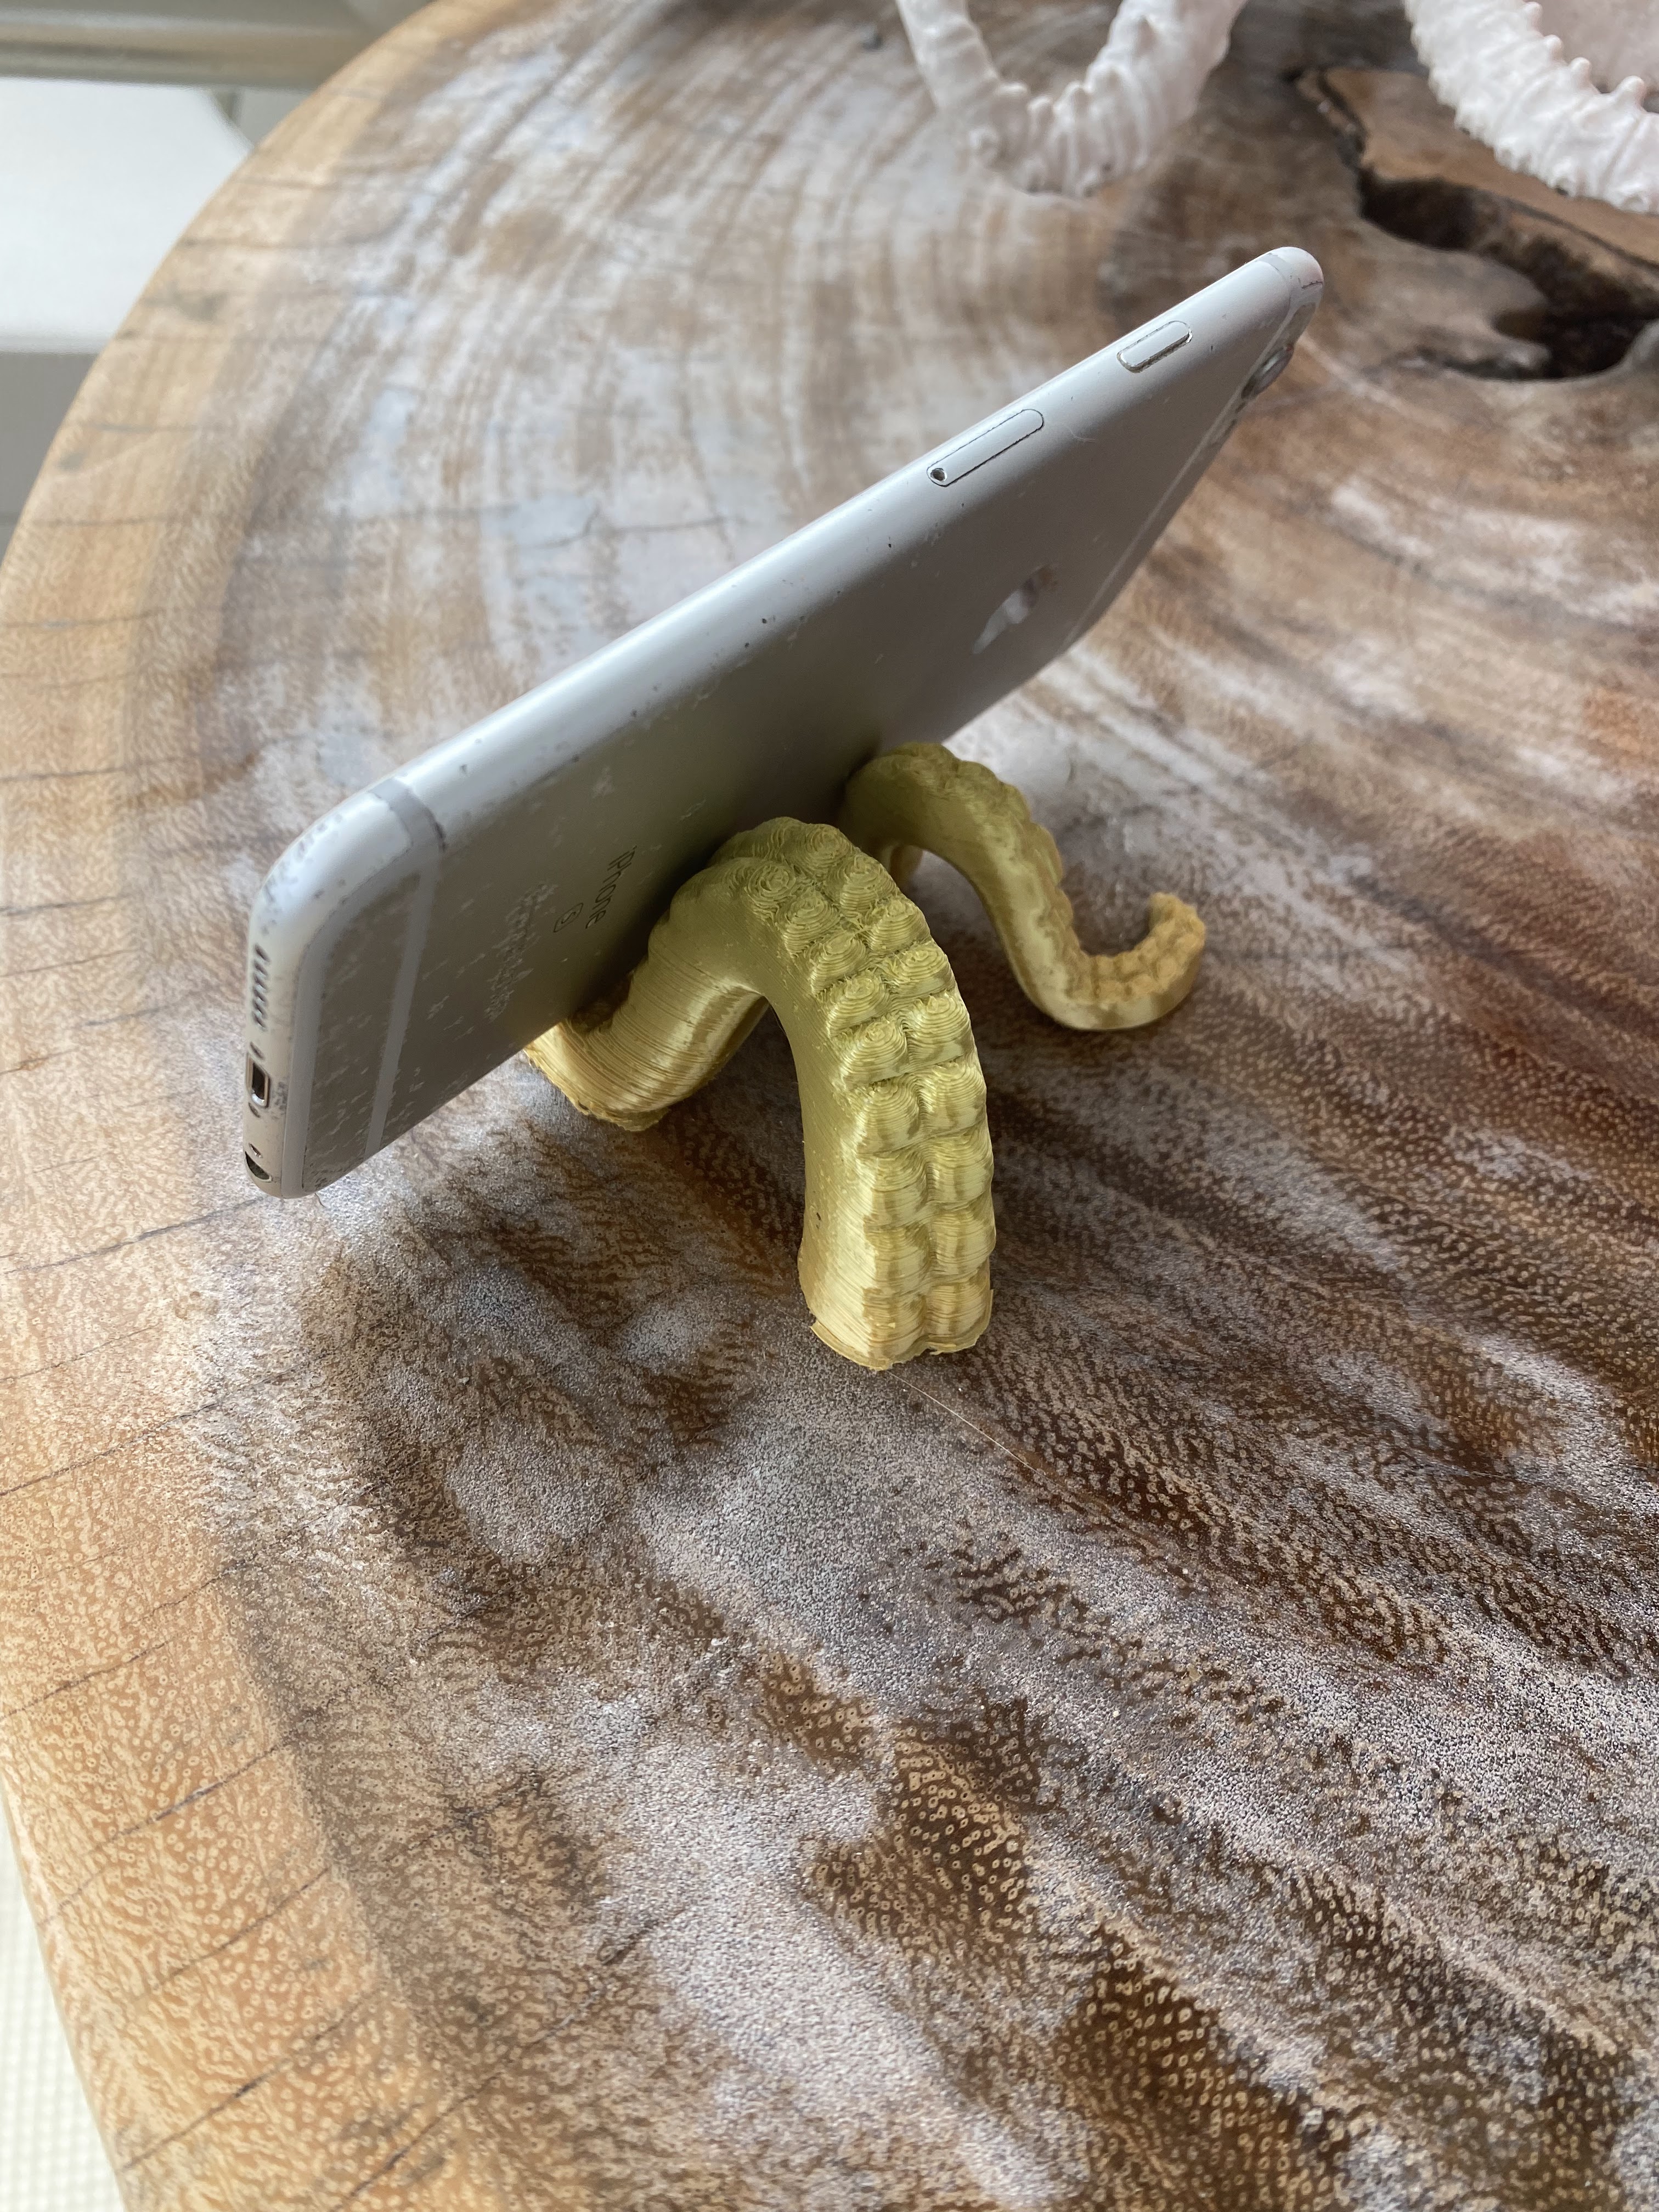
An octopus phone stand. who doesn't need one?
Mini trashcans - I use them next to my printer for scraps of plastic.
An articulated axolotl. One of my most requested items. Named after an ancient Aztec god in Mexico
Well of course I had to try out the boat name on a keychain.
Things don't always work. This was a trophy I made for a chicken wing cook off. It had a weak spot near the base. But I finally got it right!
Sometimes things need supports to print. Made this Pokemon character for a boat kid. It needed supports to hold up the extensions. The supports just break off when done printing.
Boat kid request.
I can't say no to boat kids apparently.
A bracket and spacers to mount our Mac Mini in the pilot house.
Brackets for another box in the pilot house.
A shaggy Christmas tree. I'm not 100% sure this came out how it was supposed to.
I sell these at our marina market!
Made a flying spaghetti monster tree topper. It was the first time I experimented with using multiple colors on one print.
Made a cat food can topper for my friend's cats.
A boat neighbor brought me this broken Lewmar winch stripper ring - I had no idea what it was, because it's a sailboat thing. This size is a discontinued size, so he wasn't able to buy it anywhere. It took me a few tries, but I ended up printing him multiple rings in a variety of sizes.
In the prototype phase, I would just print part of the stripper, to check the size.
I love these articulated items. I did not design these, they were designed by someone much smarter than me.
A boat neighbor needed to replace the bushing on the left - I sent him home with the one on the right!
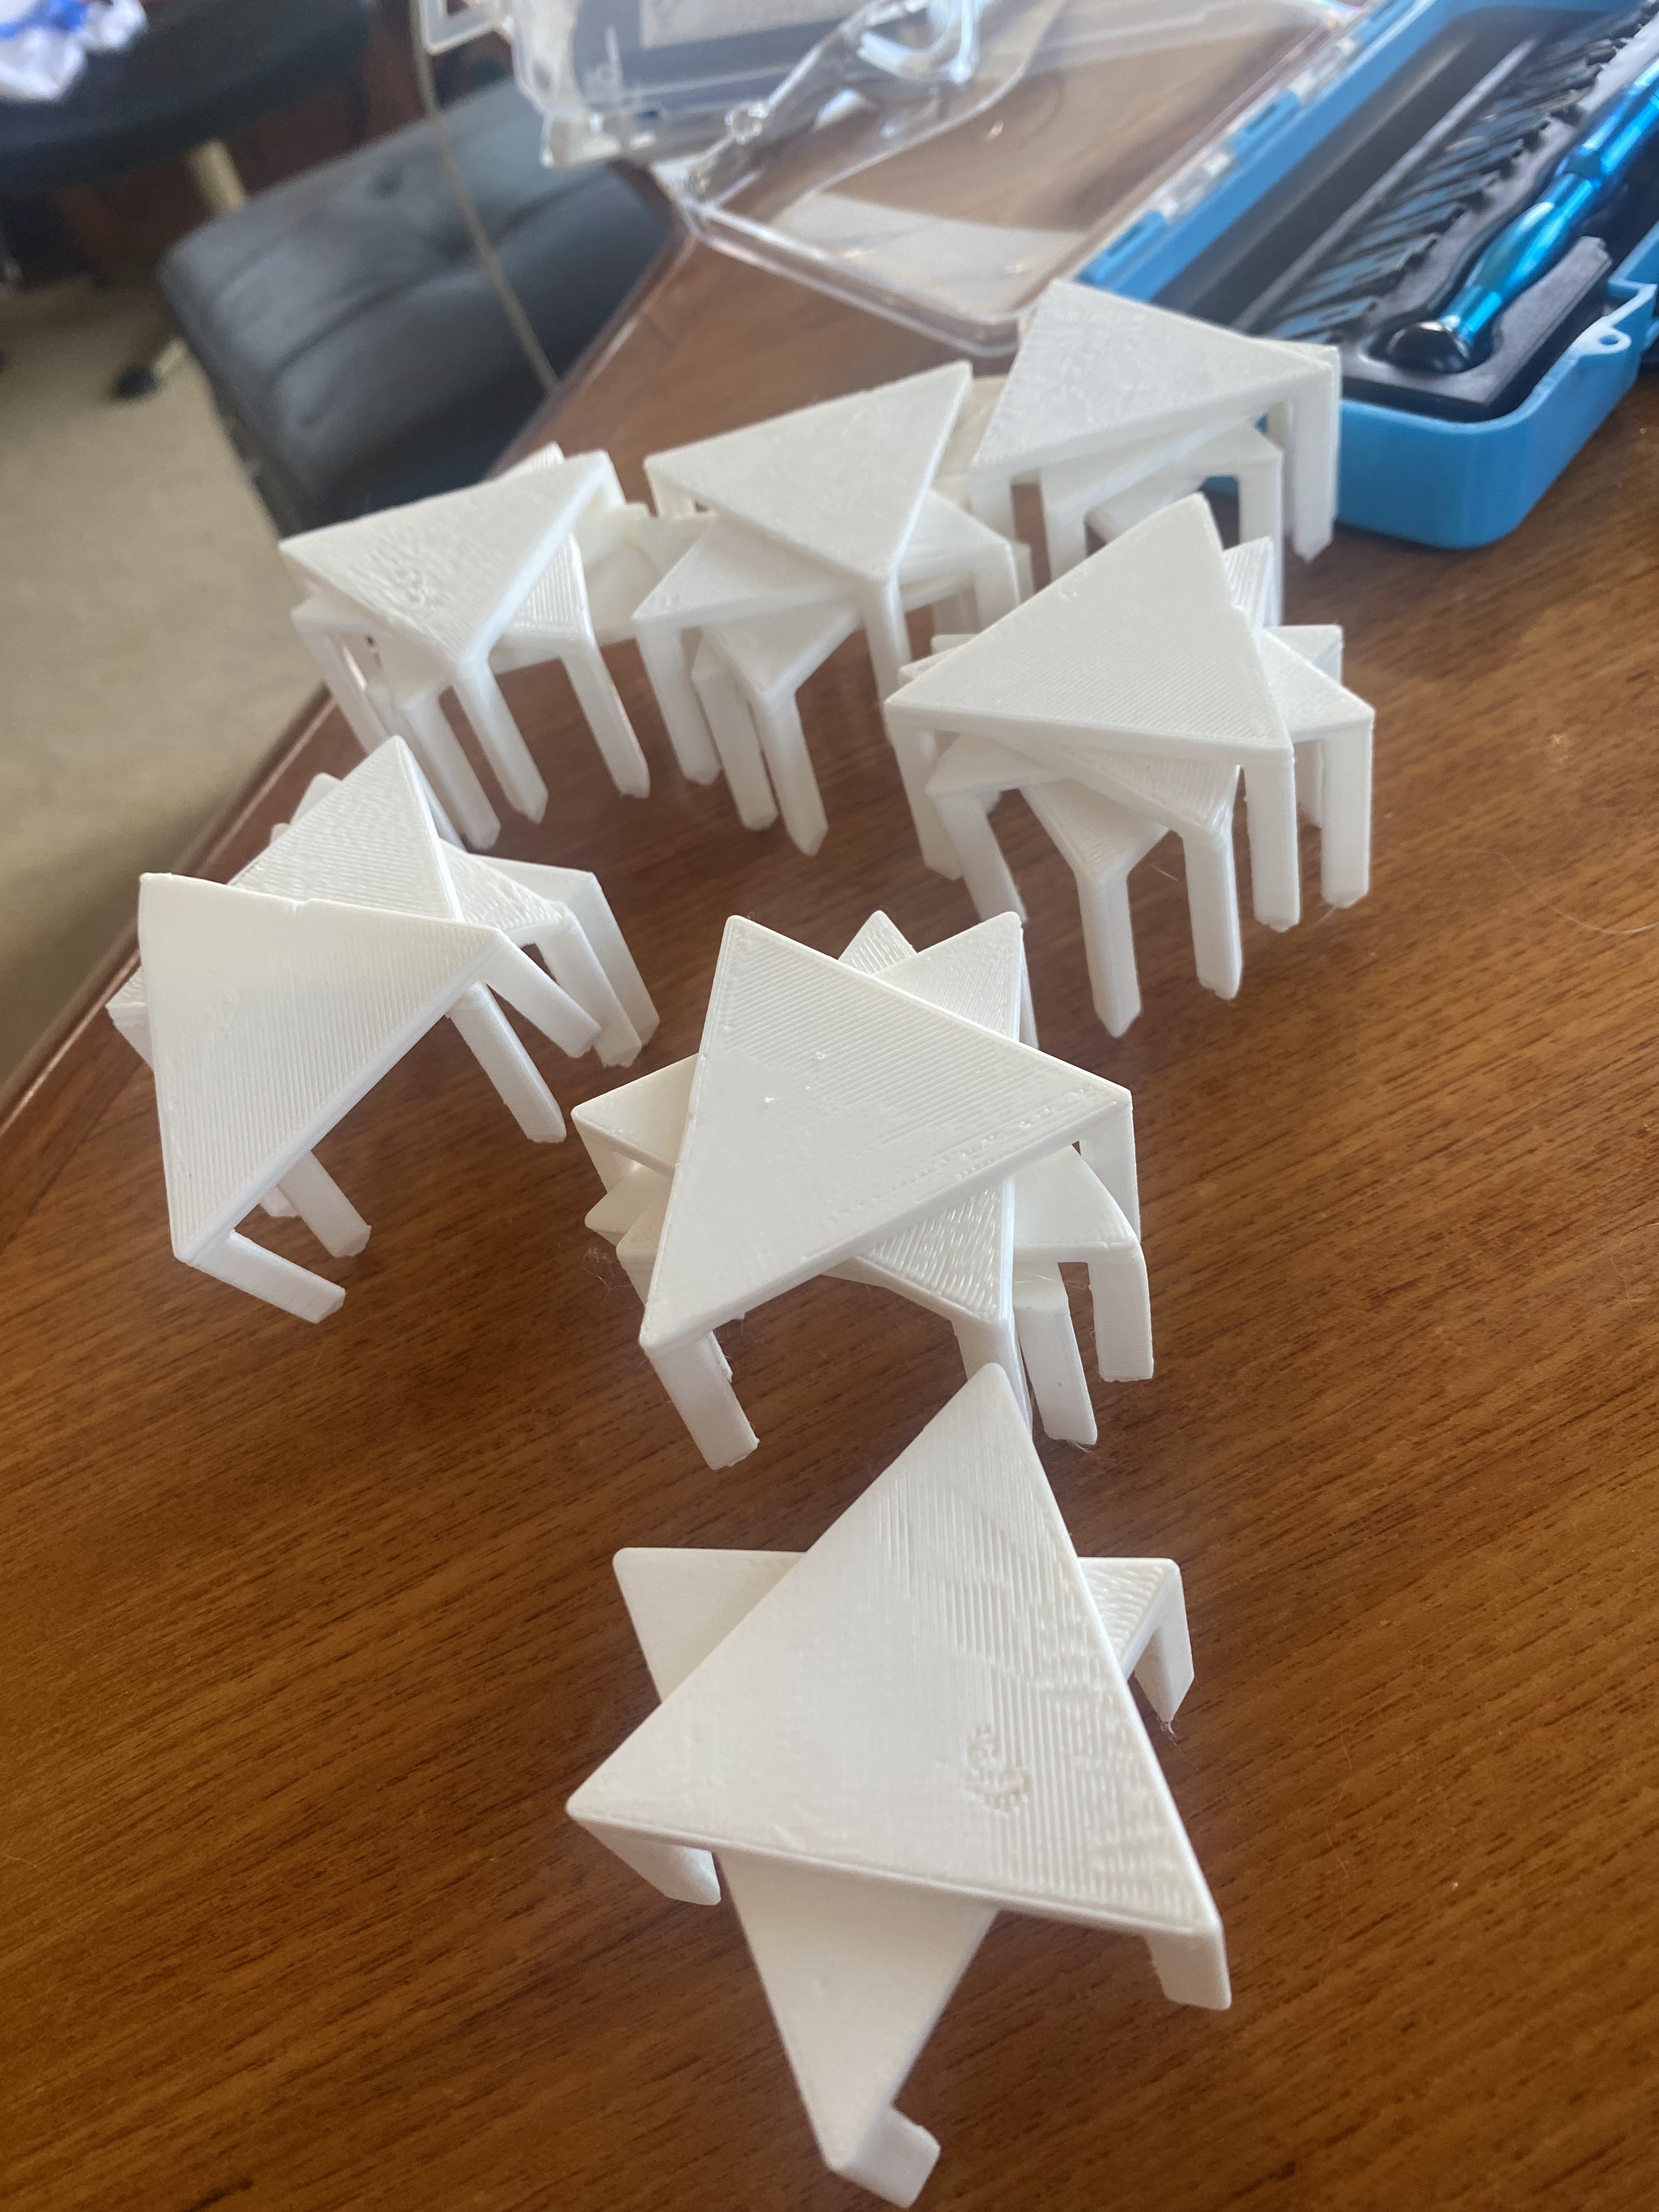
These little 'pizza box tables' were for a friend who has a freeze drying business and needed to stack lots of trays.
Pat needed a cover for his razor in his travel kit. This took 17 minutes to print.
A sliding bag gripper - keeps the bag airtight AND waterproof! I had bought some off of a friend and realized that I could probably make them! I did :)
My most recent print, was a Christmas gnome. I printed it in multiple parts so I could have different colors. With the beard, after I cut off the support, I used a heat gun to soften it and shape it.
He is one of my favorites!
What does one have to know?
This was a steep learning curve for me. Fortunately I had played with CAD software before, but I am definitely no expert. For many of my prints that I design, I have to print a prototype, make revisions and print again (and again) in order to get it just right. There are 3 main parts to this whole 3-D printing thing.
1) CAD software - There are many free version for hobbyists like myself, so that's where I'm at right now. For very beginners, tinkercad.com is a good starting place. I've watched a bunch of YouTube videos and played with the software for hours to get used to the 3-D movement, placement and creation. The software then saves as an .stl file so that the printer's software can read it.
CAD Software platforms- there are lots out there, here are 2 that I've used.
Tinkercad - free, simple, lots of tutorials, looks like it's for kids, but great for beginners
Autodesk Fusion 360 - more complex, does have a free version, more robust than Tinkercad
If you don't want to design an object, you can usually search for it online on sharing libraries. You can search brand names: iphone case, gillette razor cove, mac mini bracket - or just random searches like: shelves, gnome, Christmas, snake. Way smarter minds than mine have designed, and shared for free, some really great things on sites like:
2) Printer 'slicer' software - This is where I open up the .stl file in order to tell the printer what parameters to use. Do I want it filled solid or hollow or in between? What material am I printing with? Do I want supports? How fast do I want it to print? Once I've told the printer how to print, I save what's called the g-code to an SD card. I put that card in the printer and tell it to print!
Printer Slicer Software - you don't have to use the software that comes with your printer - they all have settings that work with multiple printers.
Ultimaker Cura - I used this one when I first started, easy to learn
Prusa - this is the one I use now, I've found it prints best with my printer.
3) The printer - The printer needs to be set up properly, maintained and sometimes fixed. I've had to take the printer head apart a few times, replace the nozzles, as they wear out, and troubleshoot dozens of times. Getting the print bed level is one of the most important, and sometimes challenging parts. Most of the time when something goes wrong, it's user error.
My bed wasn't level for this bendy fish, so I needed to work that out and print again.
Take 2 of the bendy fish - fixed it!
So, is it worth it?
With the cost of 3-D printers from $100 to $10,000, it depends on what you're using it for. While mine was under $400, the filament, nozzles and tools also add an expense. A 1 kg spool of PLA filament runs about $20, but I have yet to use a full spool, as most of these items weigh just a few grams. I suppose if I turn this into a business and print for other people, I could make that money back eventually. I would need to sell a LOT of keychains to break even. Right now, the value of the printer is printing the parts that are nearly impossible to find or source down here. It's also valuable to be able to create parts that don't exist, and spec them for our exact needs.
If you're thinking about trying it out, make sure you are ready for the learning curve (unless you're already an engineer or designer :), but the joy of finally getting a part right or making a boat kid smile, is pretty great!


Comments
Post a Comment